Fast forward a week, it's time to get ready for the Nights in White Salmon Art and Wine Fusion. Lots of boring leftover tan Event Staff Shirts. What to do? Tie dye them with chocolate brown dye. I spent a day working on them, and cranked out 34. All that experience, you know. It helped make me a little more efficient.
My dear sweet husband took the finished products downtown for safe keeping at Postal Express. Celynn liked them. A Lot. So much so that my dear sweet husband came home around 2 pm with more dye, so I could do the leftover shirts that didn't proclaim Event Staff on their backs. I guess he thought people might buy them now that I'd classed them up a little bit. Did I mention, the event was 48 hours away and that I was working the next day in the tasting room? There were about 65 or so in the box. Really. You want them WHEN????
I had to streamline my process or I was sunk. I am writing about it now, not so much to entertain, but to have it documented so I can recreate the magic. I hope I don't have to...
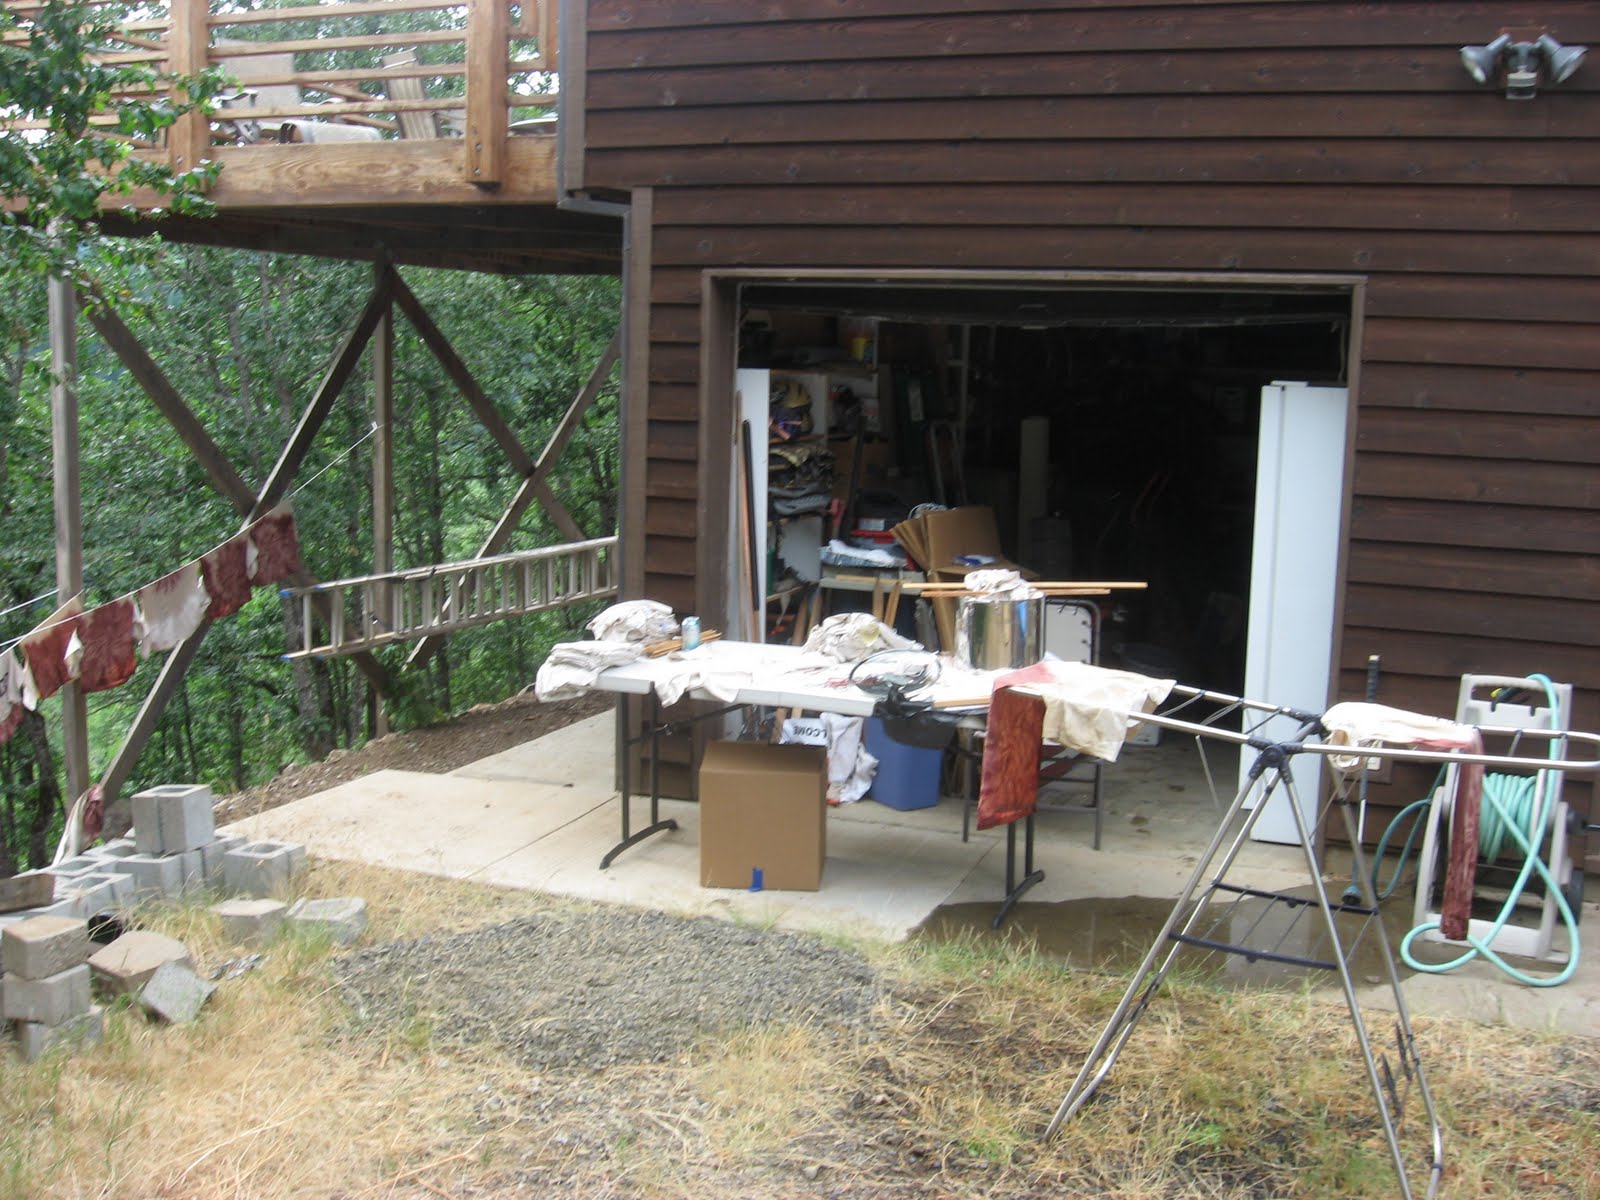
Prep and materials: the biggest pot you have (I used my 5 gal stainless steel brewing pot); bag of rubber bands, long idled forceps from my college dissecting kit, salt, boxes of RIT dye, detergent, plastic garbage bag to cover portable table, drying rack, clothesline, wood rods, beverages. Lots of beverages. Heat about 3 gallons salted water to about 160 or more, add a pack of dye and a tablespoon of liquid detergent. Mix it all up with a long large spoon, pref stainless or your spoon will get dyed, too. Set it on your outside table, open or pour a beverage, and begin.

Step 1: Lay shirt flat. To do a spiral on the bottom half of the shirt, pinch the shirt and start a swirl. Clamp the forceps into the center, and keep turning. Wrap the spiral around the outside with a rubber band. Add 2 or 3 rubber bands criss-crossing the spiral.


Step 2: Put a rod through the sleeves. If you need to adjust the level of the shirt in the dye, bunch up the top and use another rubber band. Dip the spiral into the dye and rest the rod on the top of the pot. Pot can do 2 shirts easily. Meanwhile, prepare next two shirts.

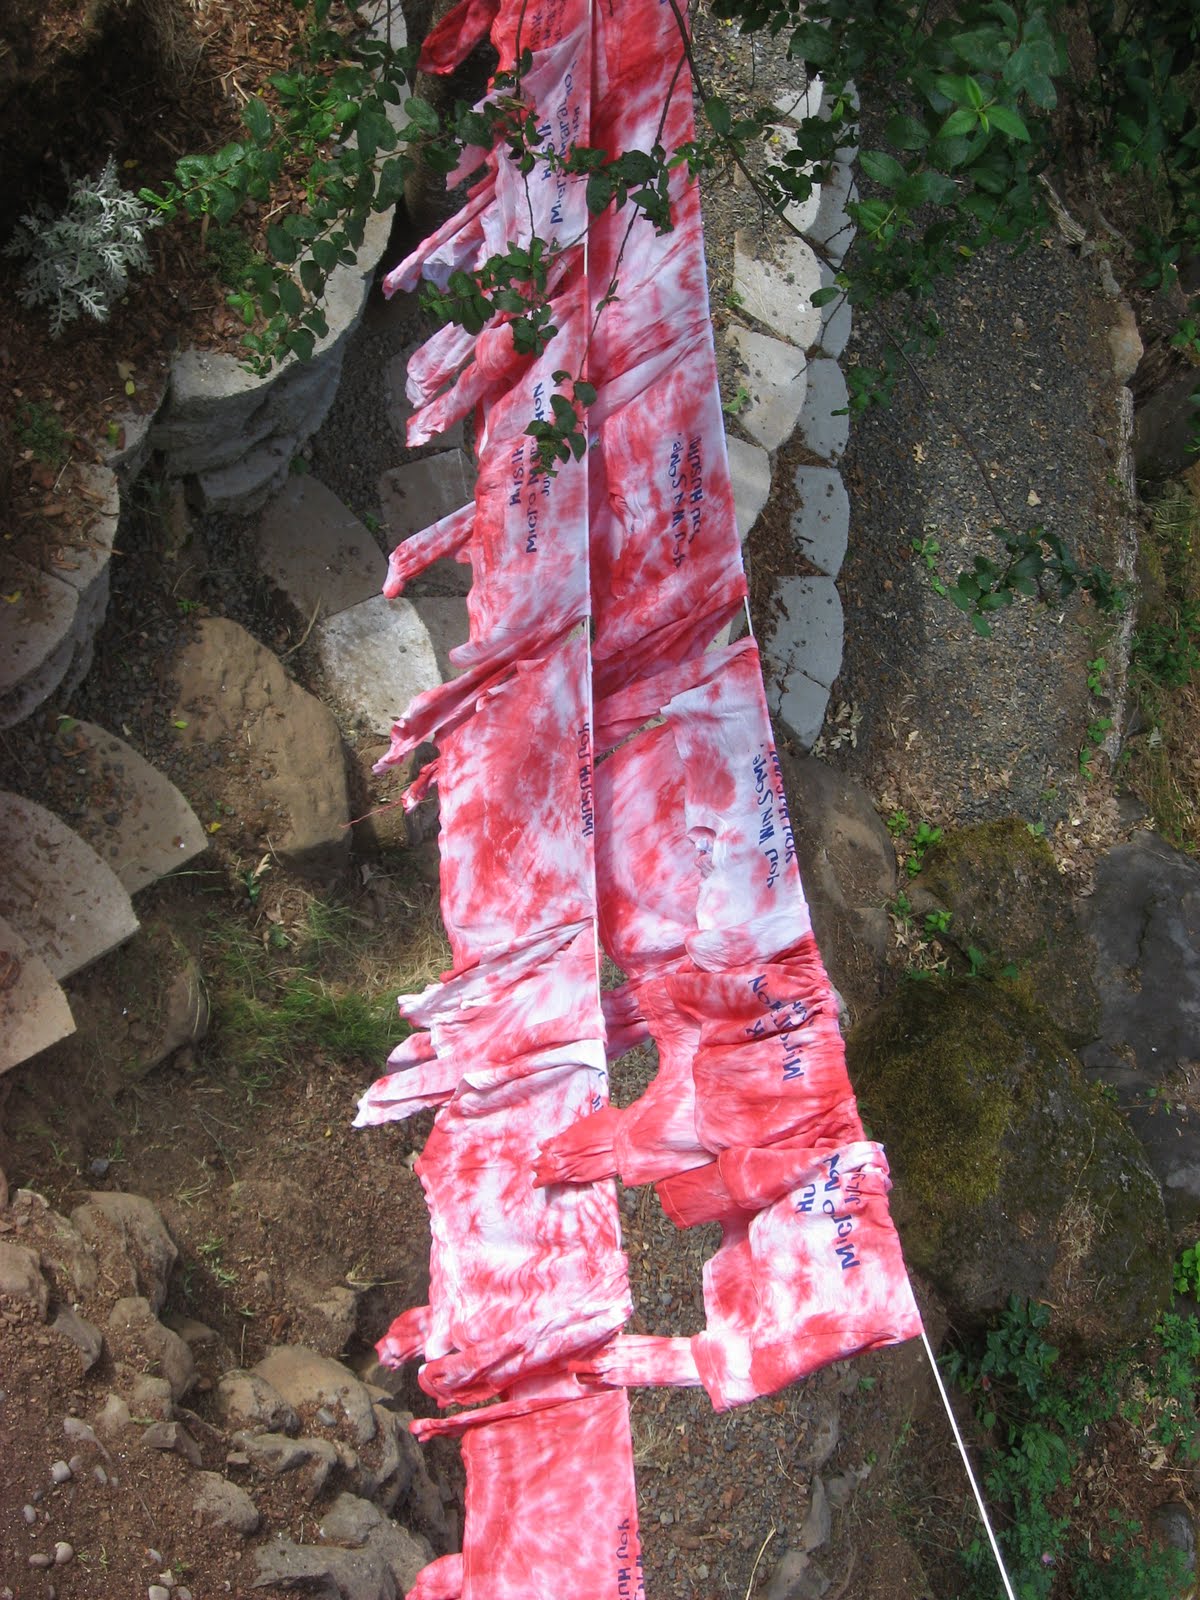
Step 3: After about 5 minutes, remove from bath, and hang on rack.

Put the next two shirts in the dye. Put on gloves, remove rubber bands, shake out the shirts. Rinse well with hose sprayer. Allow to drip a bit. Then go make up 2 more shirts.

Step 4: When second batch is ready, move the finished shirts to the clothesline. Then the next batch can go on the rack, the third batch into the pot, rinse, repeat....Until all the shirts are done or it's dark or you run out of beverage.

Afterwards, I did a quick cold water wash of all the shirts, then dried them in a hot dryer. Between 2 pm and 9 pm, with a short break to eat pizza and watch The Daily Show, I successfully dyed 58 shirts in various sizes.
No comments:
Post a Comment